A bathroom asks a lot of its lighting. It has to wake you up at seven and settle you down at eleven, put enough light on your jaw for a razor and enough softness around your eyes that you don't flinch at your own reflection. And it has to do all of that in the one room of the house where steam, splashes and wet hands are routine.
Most bathrooms get one of those jobs right. Usually the waking up. The rest is a single ceiling fitting doing its best while you lean towards the mirror and cast your own shadow across your face.
Start With the Jobs the Light Has to Do
Before you look at a single fixture, separate the room into three lighting jobs. They rarely want the same fitting, the same colour of light, or even the same switch.
- Ambient light fills the room so you can clean it, find a towel, and not walk into the edge of the bath. It should be soft and reasonably even.
- Task light lands on your face, your hands, and whatever you're holding — a razor, a toothbrush, a contact lens. This is the light that matters most and the one most bathrooms lack.
- Low-level light for the middle of the night, so a trip to the bathroom doesn't switch your brain on. A warm glow near the floor or a dimmed wall light is enough.
Once you know which of the three you're short of, shopping gets much simpler. Most rooms are fine on ambient, thin on task, and completely missing the third.
Mirror Lighting: Where Bathrooms Are Won or Lost
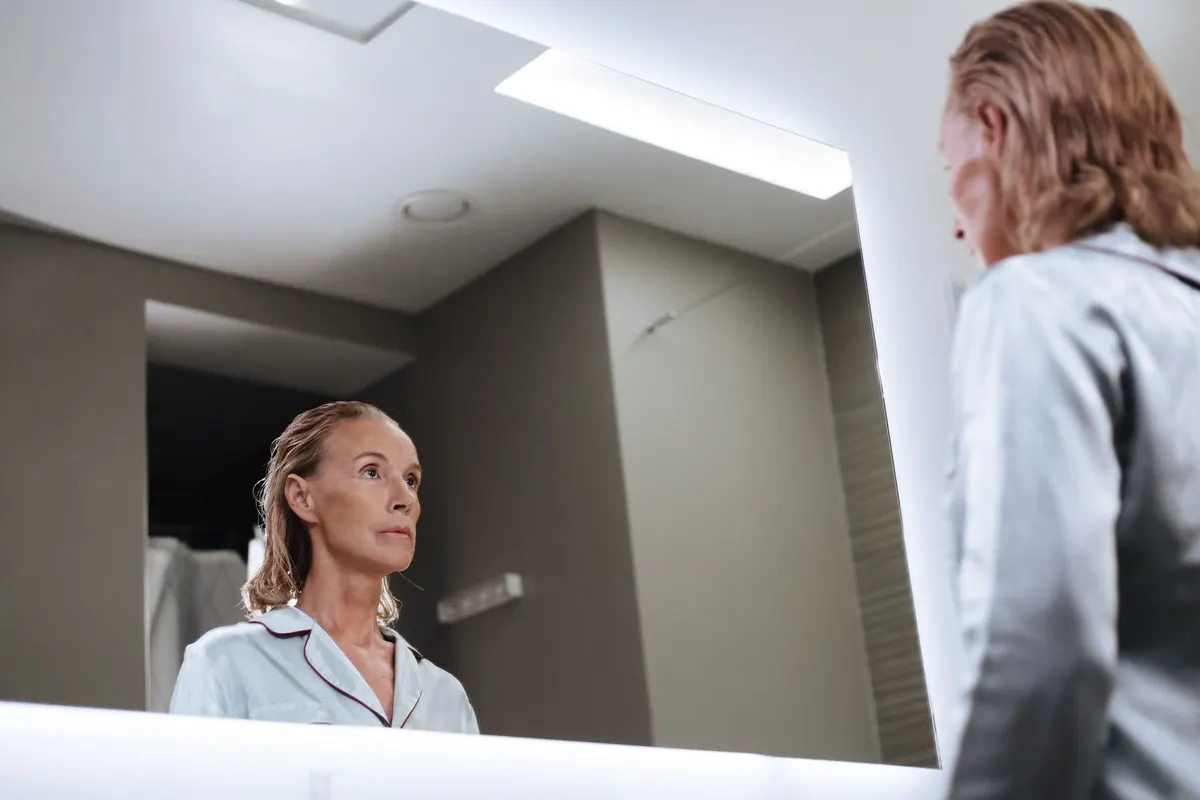
You spend more time at the mirror than anywhere else in the room, and it is the least forgiving spot in the house. A ceiling light directly overhead drops shadow under your brows and nose. A light behind you throws your own silhouette onto your face. Neither is flattering, and neither is much use for shaving.
Two lights at the sides beat one above
Flank the mirror with a pair of wall lights set at roughly eye level — around 1.6 to 1.7 metres from the floor for a standing adult, adjusted for your household. Vertical fixtures of 45 centimetres or more wash the whole side of the face instead of leaving a bright band at the chin. Keep the covers frosted or opal: a bare lamp at eye level is reflected in the glass and straight into your eyes.
Small detail, big difference: bring the fittings slightly forward of the mirror plane, so the light falls across your face rather than skimming the wall behind you.
If you only have one fitting above the mirror
Push it forward — roughly level with the front edge of the basin — and make it longer and softer rather than smaller and brighter. A diffused bar of 60 centimetres or more will do more for your face than a compact spotlight at double the output.
Backlit mirrors are ambience, not task light
An illuminated mirror gives a lovely hotel glow, but the light comes from behind the glass. It lights the wall and the room, not your chin. Treat it as a second source and plan a ceiling light in front of the basin, plus a small directional light for close work if you shave or apply makeup at the mirror.
General Illumination: Fewer, Softer, Better Placed
A single downlight in the middle of the ceiling produces a cone of light on the tiles and shadows everywhere else. Two or three smaller fittings on separate switching is almost always the better answer: you can run one for a night visit, two for a shower, all three for cleaning.
If you use recessed downlights, choose a wide beam for general light and keep them out of the spot where you stand at the basin, or you'll cast your own shadow over the sink. Avoid placing one directly over the bath where you'd stare into it while lying back. A diffused ceiling fixture — opal glass, fabric shade, a soft globe — is a simpler way to get even, comfortable light in a small room.
Then give the room one point of interest: a warm wall light beside the bath, a sealed downlight in the shower so it doesn't feel like a cave, or a discreet light in a niche. One is enough. Two starts to look like a showroom.
IP Ratings Without the Jargon
IP stands for ingress protection, and the two digits after it tell you what a fitting can survive. The first digit covers dust and solid objects; the second covers water, and it is the one that matters in a bathroom.
- IPX4 — splashing water from any direction. The sensible minimum for anything within reach of the bath, basin or shower.
- IPX5 — water jets. Worth choosing inside a shower enclosure, where spray is directed and constant.
- IPX7 — temporary immersion. Only relevant for fittings actually inside a bath or tray, which most wiring rules don't allow anyway.
- IP21 to IP23 — fine for the dry parts of the room, though a steamy bathroom is never truly dry, so don't go lower.
Two things the rating doesn't tell you. First, seals and gaskets age; a fitting that was IP44 when it went up can lose that protection after years of heat and cleaning products. Second, IP says nothing about corrosion — in coastal areas or with hard water, look at the finish as carefully as the number.
Placement, Zones and the Rules You Should Not Bend
Most European countries use a zone system to decide what can go where. Zone 0 is the inside of the bath or shower tray. Zone 1 is the space above the bath or shower up to about 2.25 metres from the floor, plus the shower's own footprint. Zone 2 is the band roughly 0.6 metres beyond that, again up to 2.25 metres. Outside those zones, ordinary fittings are generally acceptable.
Switches and sockets stay out of the wet zones — outside the room, on a pull cord, or in the case of shaver sockets, a purpose-made isolated unit. Bathroom circuits normally need residual current protection, and the exact requirements differ from country to country and change with each edition of the wiring regulations.
Anything involving a new circuit, a fitting inside a zone, or a shaver socket is a job for a qualified electrician who knows your local code. This is one area where a guide can tell you what to ask for, but not what to sign off.
Colour, CRI and Dimmers
Warm white, somewhere around 2700 to 3000 K, suits the way most people use a bathroom in the evening. A neutral 4000 K looks crisp and clean and is useful over a basin if you prefer it, but don't put the two side by side in the same sightline — the mismatch reads as grubby rather than intentional.
For the mirror lights, look for a colour rendering index of 90 or above. Skin looks like skin under a high-CRI source, and makeup applied there will still make sense in daylight. Ignore wattage and compare lumens instead; a modern LED does far more per watt than the numbers on the old box in the cupboard.
Dimming is worth the small extra effort. Put the mirror lights on one dimmer and the ambient light on another, and check that the dimmer is rated for the LED driver you're using — most flicker and buzzing complaints come from a mismatched pair, not a faulty fitting.
A Five-Minute Plan Before You Buy
- Sketch the room and mark where you stand at the basin, in the shower, and in the bath.
- Mark the mirror's centre line and its height. That is your task-light reference.
- Choose two diffused mirror lights at eye level, at least 45 cm tall, CRI 90 or above.
- Replace the single central fitting with two or three wider ones on separate switching.
- Draw the zone boundaries on your sketch and note the IP rating required for each fitting inside them.
- Add one low-level warm light for night use, on its own circuit if you can.
- Have an electrician confirm the circuit protection and dimmer compatibility before anything is installed.
Get the mirror light right and the room forgives a great deal. Get it wrong and no amount of expensive tile will fix the face looking back at you at seven in the morning.
Photo: Ron Lach / Pexels