Most outdoor lighting goes wrong in one of two directions: a yard so dark that everyone carries a phone as a torch, or a yard so bright that the trees look like they are being interrogated. Both problems come from the same mistake — choosing fixtures before deciding what the light is supposed to do.
A better approach is to treat the garden the way you would treat a house: zone by zone, with a clear job for each area, and permission to leave the rest alone. What follows is that zone-by-zone pass, from the path by the gate to the dark corner behind the shed.
Start With a Walk Around the Yard After Dark
Before you buy anything, go outside at night with the phone in your pocket and the lights off. Walk the route a guest would take from the street to your door. Notice where you instinctively slow down. Notice where you reach for a wall that isn't there. Notice which corner you would never sit in after sunset, and which bench you would.
Then go back inside and look out of the windows you actually use in the evening — kitchen, living room, bedroom. The view from inside is the one you will live with for years, and it is the one most people forget to check. A fixture that looks elegant from the lawn can put a hard white glare across your kitchen table.
Mark it, don't memorise it
Push a small flag or a bamboo cane into the ground wherever you wanted more light, and a second colour wherever you wanted less. By the end of the walk you will have a plan drawn on the garden itself, which is far more useful than a sketch on paper. Note also the spots you cannot see from the house — those are usually the security gaps.
Pathway Lighting: Light the Ground, Not the Eyes
Path lights have one job: show where the surface changes. Steps, level changes, turns, the place where gravel gives way to paving. Everything beyond that is decoration, and decoration is where budgets and dark skies go to die.
- Bollards and posts: 45–60 cm tall, spaced roughly 1.8–2.4 m apart for overlapping pools of light, not a continuous stripe.
- Step lights: recessed into the riser, set to one side of the tread so nobody coming downstairs looks straight into the source.
- Colour temperature: 2700–3000 K. Warm white flatters stone, brick and planting; anything cooler starts to look like a car park.
- Shielding: choose fixtures with a hood, cowl or louvre so the light is aimed down. If you can see the LED itself from standing height at the front door, it is aimed wrong.
The runway mistake
Lining both sides of a path with identical fixtures at identical spacing turns a garden into an airport runway. Alternate sides instead, and skip a position or two where a shrub or a step already reads clearly. The eye fills in the gaps, and the result looks calmer and more deliberate.
One more check: stand at the edge of your property and look back. Path light should stop at your boundary. If the beam is washing a neighbour's fence, angle it in or fit a shield.
Patio Lighting: Three Layers, One Dimmer
A terrace needs three kinds of light, and they should be switched separately so you can run one, two or all three depending on the evening.
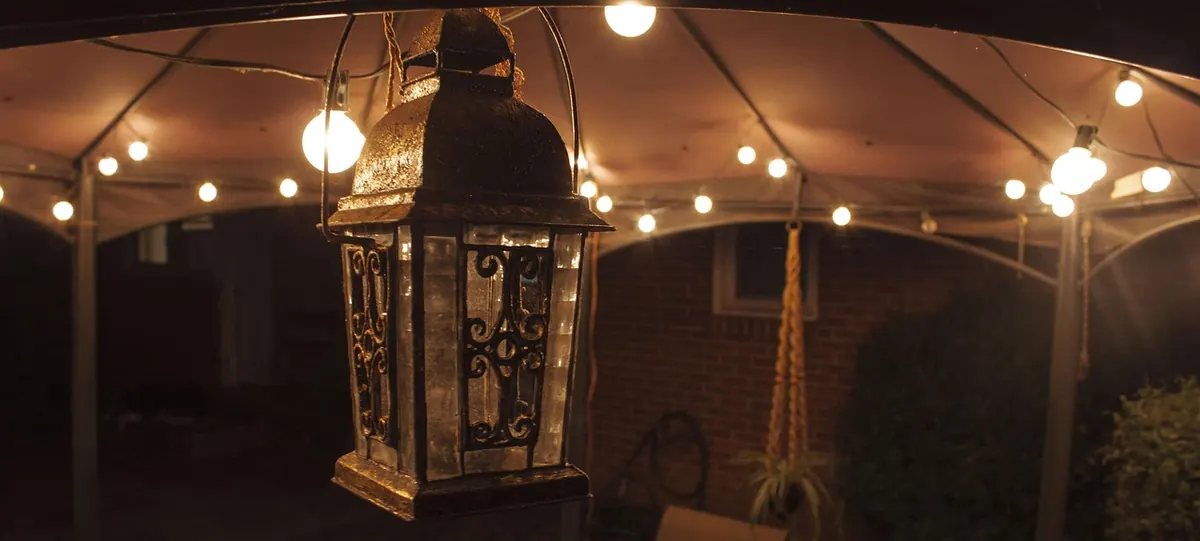
Ambient covers the space overall — string lights under a pergola, a single pendant over the table, or a wall lantern on the house. Task light does the work: the grill, the prep counter, the step down to the lawn. Accent adds depth: a small uplight on a planter, a low wall washed with light, a lantern on the ground.
Two practical rules. First, hang anything overhead well above eye level — at least 2.1–2.4 m over a dining table — or every guest will spend the evening squinting past a bulb. Second, think about faces. Light people from the front and slightly above; a bright fixture directly behind a seated guest turns them into a silhouette. A shielded wall lantern at about 1.8 m on the house wall does more for conversation than a spotlight up in a tree.
Fit a dimmer, and check that it is compatible with the LED drivers you are using before installation — mismatched dimmers produce flicker and a faint buzz that is much harder to fix once the cable is buried.
Garden Lighting: A Few Bright Ideas, Lots of Dark
Planting light is about depth, not coverage. A handful of techniques, used sparingly, will do more than twenty fixtures dotted along a border:
- Uplighting: a narrow-beam fixture at the base of a tree, aimed up the trunk, kept out of sight. Works best on trees with structure — bark, branching, a good canopy.
- Moonlighting: a fixture higher in the branches, aimed down, so light filters through leaves and lands in soft patches on the ground.
- Grazing: a fixture close to a wall or hedge, raking across the surface to reveal texture.
- Silhouetting: light the wall behind a shrub rather than the shrub itself, and you get a shape instead of a leaf-by-leaf portrait.
Pick two or three focal points and leave the rest genuinely dark. The contrast is what makes the lit parts read; if everything glows, nothing stands out and the garden flattens into a showroom. Keep beams away from bedroom windows, yours and your neighbours'.
Security Lighting: Cover the Approaches, Skip the Floodlights
Security light belongs on the approaches, not over the patio: the gate, the side path, the garage, the shed, the dark strip along the back fence. Combine a photocell or timer with a motion sensor, and keep the colour warm — 2700–3000 K — because harsh blue-white light is tiring to live with and unkind to everything it touches.
Resist the urge to go brighter than you need. A blast of light destroys your night vision, which means you can see less of the garden than before the lamp tripped, and glare aimed outward can wash out the very detail you were hoping to capture. Aim sensors and beams so the light stays on your property, and test the fixture from the far end of the yard rather than standing underneath it. If a low level of light stays on all evening and brightens when someone approaches, that is usually pleasanter to live with than a flood that snaps on at every cat.
Some municipalities have rules about light spill and upward light. It is worth a quick check with your local authority before you install anything substantial, and any mains-voltage work should go to a licensed electrician.
The Final Night Check
Before you call it finished, walk the whole garden once more with everything switched on, then switch off each layer in turn.
- From the street and from the front door, can you follow the path without seeing a single bulb?
- Standing at each window you use after dark, is there glare in your eye?
- Are there at least two pockets of the garden left unlit?
- Do the steps read clearly on a wet night, when reflections get tricky?
- Does the patio dim low enough that you can still see faces without lighting up the whole lawn?
- Does the security light trigger for a person walking to the bins, and not for a fox crossing the grass?
- Can you switch ambient, task, accent and security independently?
If you are working with a designer or an electrician, ask for a night mock-up with temporary fixtures before anything is fixed in place. An hour of testing after dark settles more arguments than a week of drawings — and it is the cheapest part of the project. Get this right and guests will not mention the lighting at all. They will simply stay outside a little longer than they planned.
Photo: dclementsCreative / Pixabay